
How to Add a Scrollable Image in Squarespace
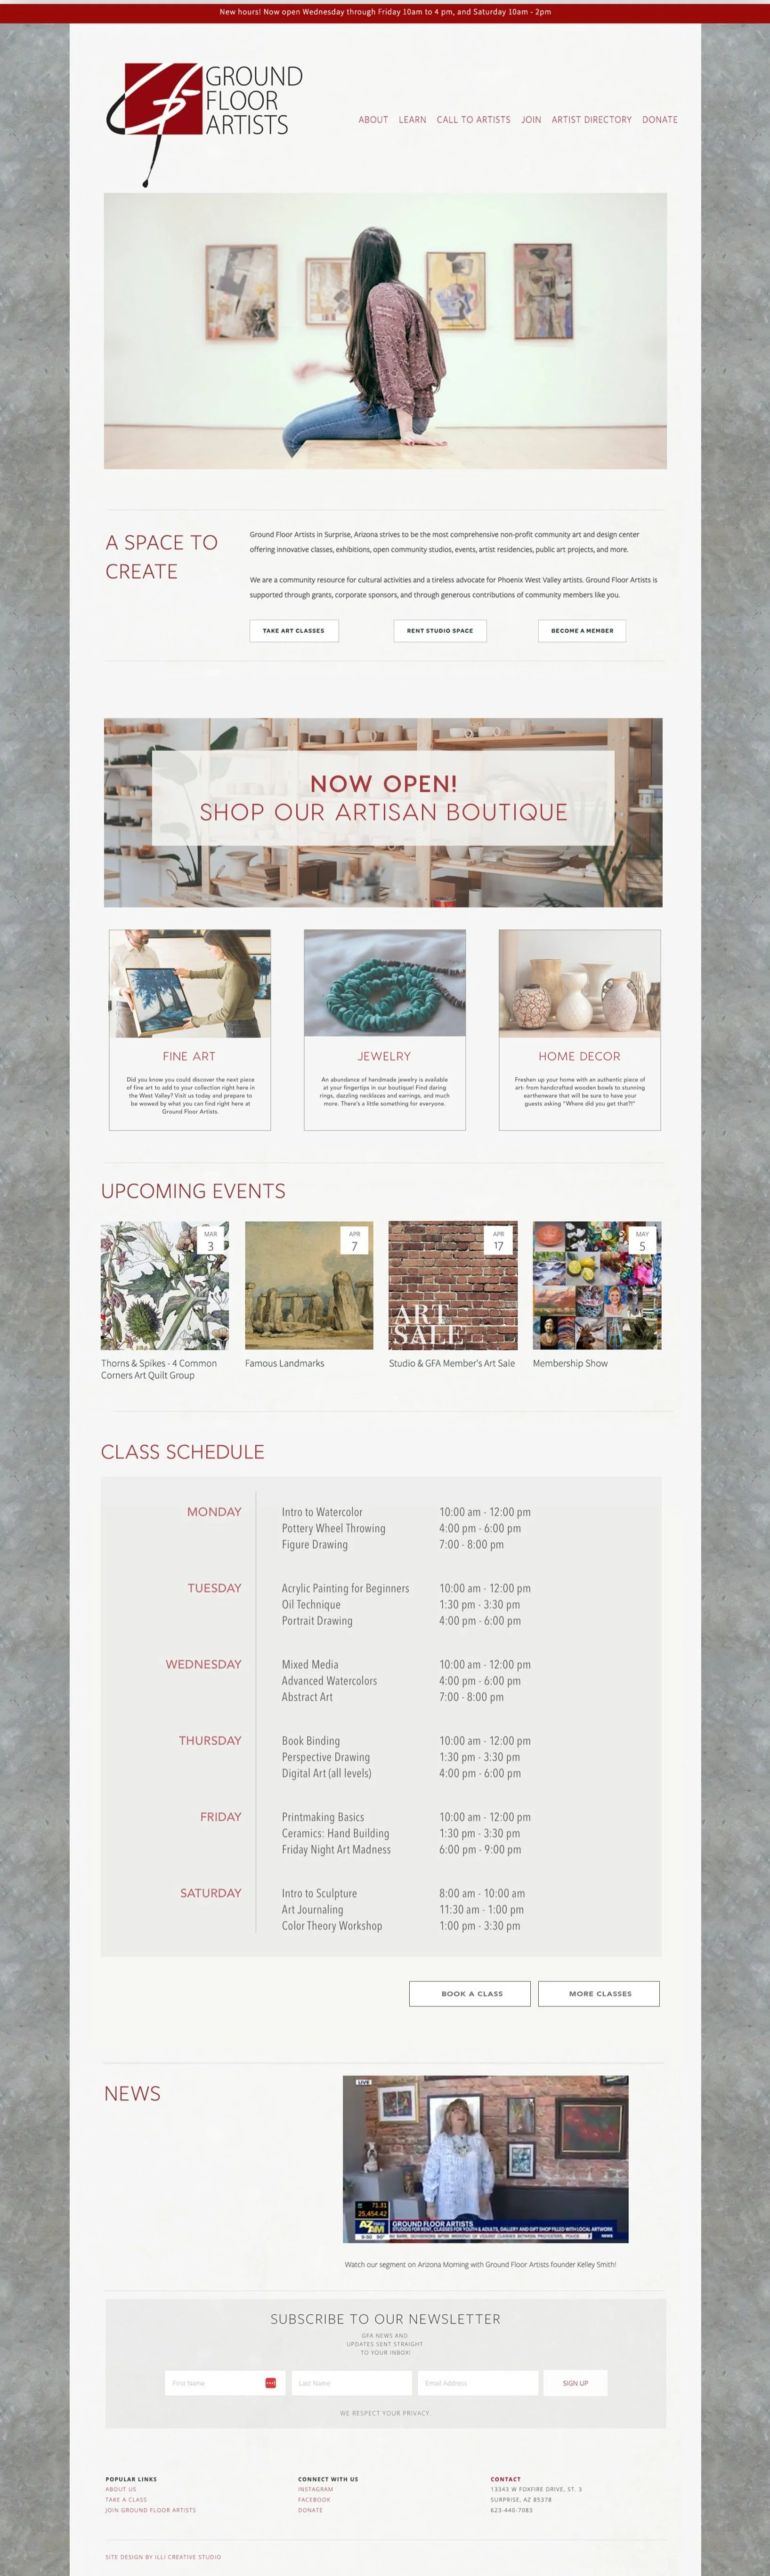
Let’s say you’ve designed a homepage you’re proud of and you want to showcase it in your portfolio. So you figure, “I’ll start by grabbing a screenshot of the entire page!” Good idea! (You can do this easily with an extension like GoFullPage). But if your page has a lot of sections, this image may quickly delve into CVS receipt territory. Monstrously long and annoying to deal with.
I’m going to share a better way: a scrollable image. This allows you to show off your entire image in while taking up less space, and lets your viewers interact with it just like they would scroll through a real website. And yes—it works beautifully in Squarespace.
Now you can say so long to images that are … so long. Ha.
Check out the video at the end of this post if you’re more of a visual learner, otherwise buckle up for a quick step-by-step that breaks down exactly how to turn those extra long images into cute, easy-to-digest scrollable images.
Also, it would probably be helpful to see exactly what I’m talking about. Check out the following images to see the difference. The first: long and uninspiring. The second: scrollable, readable, and fun!

Step 1: Add a Code Block
First, make sure your image is uploaded to Squarespace, then grab the image URL. You can do this by right clicking on it and selecting Copy Image Address.
Next, add a Code Block element on your page/post. Copy and paste the following code inside, making sure to replace YOUR-IMAGE-URL-HERE with your image URL address.
<div class="scroll-website-preview auto-scroll">
  <img src="YOUR-IMAGE-URL-HERE">
</div>
Hit save. Nothing will happen. Panic. Just kidding, don’t! Keep going to Step 2.
Step 2: Add Footer Code
Paste the following code into Pages > Website Tools > Code Injection > Footer
<style>
.scroll-website-preview {
  height: 600px;
  overflow-y: scroll;
  position: relative;
  border: 1px solid #ddd;
  border-radius: 8px;
  box-shadow: 0 2px 10px rgba(0,0,0,0.1);
  scroll-behavior: smooth;
  mask-image: linear-gradient(to bottom,
    transparent 0%,
    black 10%,
    black 90%,
    transparent 100%);
  -webkit-mask-image: linear-gradient(to bottom,
    transparent 0%,
    black 10%,
    black 90%,
    transparent 100%);
}

.scroll-website-preview img {
  display: block;
  width: 100%;
  transition: transform 0.3s ease;
}

.scroll-website-preview:hover img {
  transform: scale(1.01);
}

@keyframes scrollPreview {
  0% { scroll-top: 0; }
  50% { scroll-top: 9999px; }
  100% { scroll-top: 0; }
}

.auto-scroll {
  animation: scrollPreview 20s ease-in-out infinite;
}

.auto-scroll:hover {
  animation-play-state: paused;
}
</style>
You can play with the styling here a little bit if you’d like. Change things like the color of the border, the border radius, the transparency, the height, etc. You won’t see the changes go live until you hit save.
How to Add More Than One Scrollable Image
Now that you have the footer code in place, all you need to do to add additional scrollable images is follow the instructions in Step One. Since the footer code affects the entire site, you only need to add it once and then you’re able to create as many scrollable images as you’d like, anywhere on your site.
Have fun bringing those images to life!
Watch the Video
–LINDSEY illicreative.com